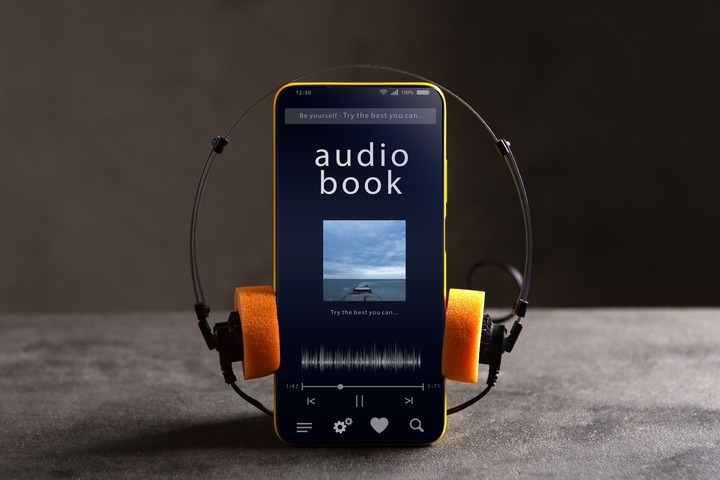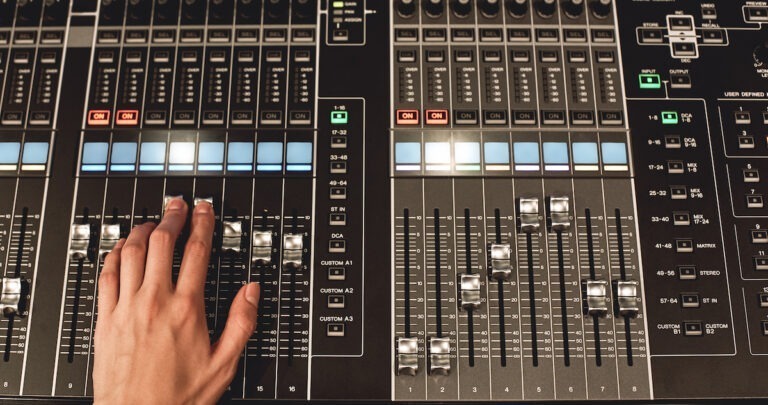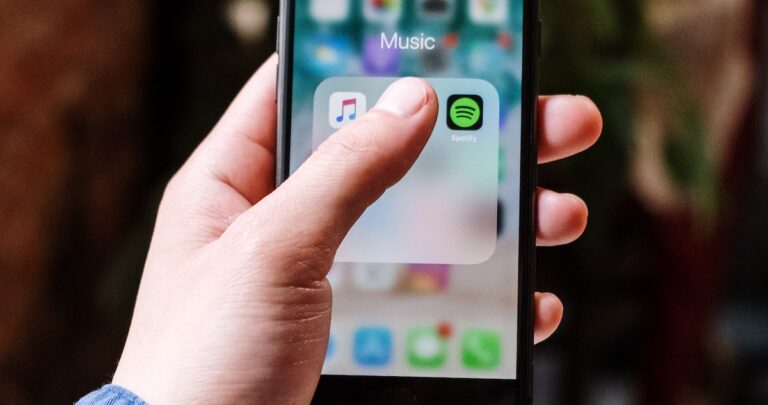
If you’re wondering how to do a voice over on Canva, the platform includes built-in recording tools, AI narration options, and simple audio editing features that allow creators to produce audio without leaving the editor.
At Voice123, we work with creative directors, producers, and video agencies who need compelling narration for their projects. So, we’ll explain how to do a voice over on Canva video projects, presentation slides, and how to use tools like Canva text-to-speech and the Canva AI voice generator.
How to do a voice over on Canva
If you’re trying to learn how to do a voice over on Canva, the process is simple because the platform allows you to record narration directly inside your project. You can record audio on Canva using the built-in microphone tool and add it to your timeline.
- Open your Canva project (video or presentation)
- Click Uploads or Apps
- Select Record Yourself
- Start Canva recording
- Save the audio track and place it on the timeline
How to record your voice on Canva

Learning how to record your voice on Canva is one of the easiest ways to add narration to videos or presentations. Canva includes a built-in recording tool that lets you capture audio directly inside the editor without using external software.
When you record on Canva, the platform uses your device microphone to capture narration and automatically saves the audio file in your project. This makes it easy to record and add audio to marketing videos, tutorials, or internal presentations.
How to record voice on Canva
- Open the video or presentation where you want to add narration.
- Click Apps and select Record Yourself to begin the Canva recording process.
- Allow Canva to access your microphone so it can capture your voice.
- Click Record, then speak clearly as you record your script.
- Stop recording and add the narration to your timeline.
Tips for better Canva recordings
- Record in a quiet room
- Use a USB microphone if possible
- Keep recordings short so you can edit easily
How to add a voice over on Canva video
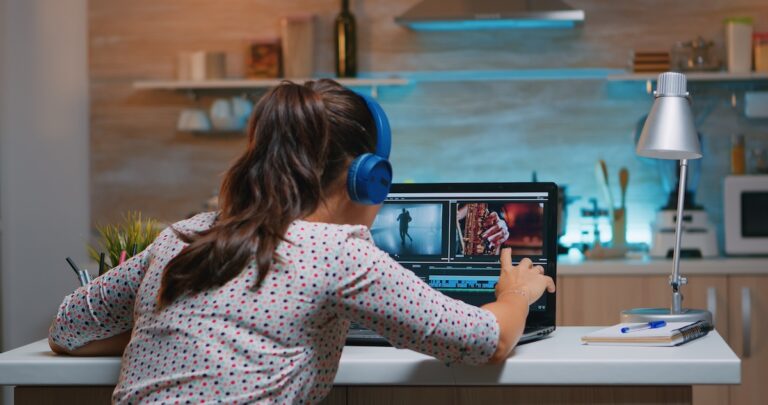
Many creators want to know how to add voice over in Canva video projects when creating explainer videos, social media ads, or product demos. The process for how to add voice over to Canva videos involves recording or uploading narration and aligning it with the video timeline.
When you add audio in Canva, the narration appears as an audio track beneath your visuals. You can trim the audio and adjust its length to match scene transitions.
How to add voice over in Canva videos
- You can either record narration using the Canva recording tool or upload an MP3 or WAV file.
- Drag the audio file into the timeline so it aligns with your video scenes.
- Cut sections of the audio to match transitions in your video.
- Lower the background music so the narration is clear.
How to do a voice over on Canva presentation
If you’re creating training materials or pitch decks, you may need to learn how to do a voice over on Canva presentation slides. Canva lets you record narration while presenting slides so viewers can hear your explanation alongside the visuals.
To do a voice over on presentation projects, use the built-in Present and Record feature. This tool records your voice while you move through the slides, creating a narrated presentation that can be shared with viewers.
How to voice record on Canva presentations
- Load your Canva slide deck.
- Choose the Present and Record option.
- Begin narrating while moving through your slides.
- Canva saves the recording and generates a shareable link.
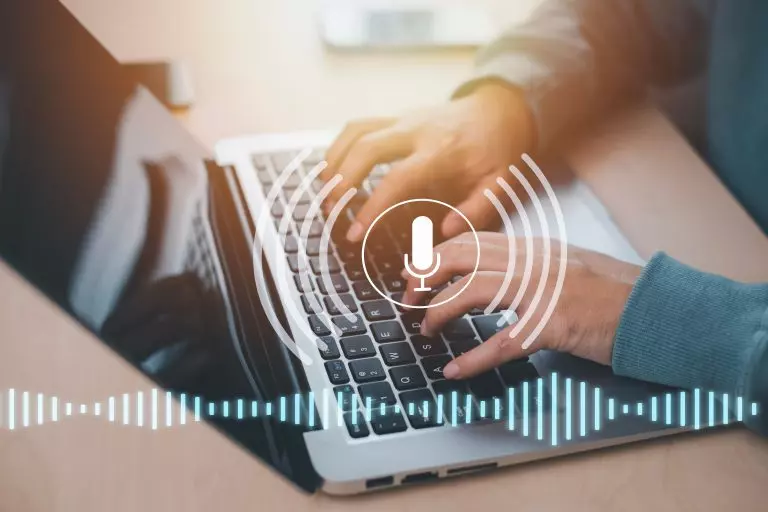
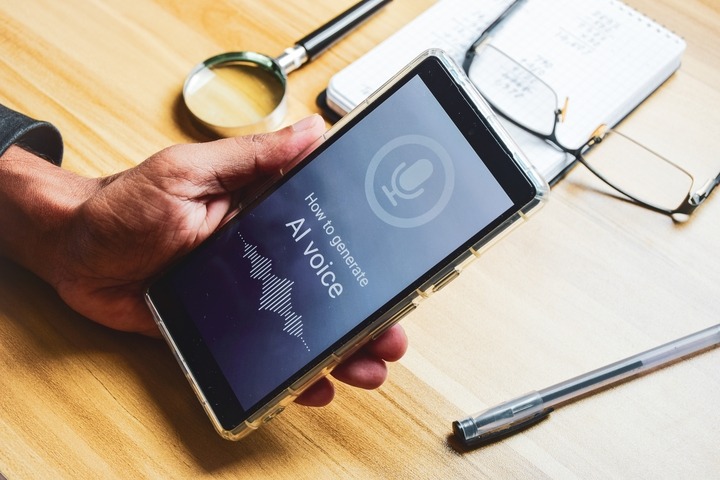
How to use the Canva AI voice generator
Canva text-to-speech tools automatically generate narration from written scripts. These tools are part of the Canva AI voice generator, which converts text into synthetic recordings.
Simply paste your script into the AI tool, choose a style, and generate the audio file. The narration can then be added directly to your project timeline.
How to use Canva text-to-speech
- Open Apps in Canva
- Select an AI voice tool
- Paste your script
- Choose a voice style
- Generate the narration
Although Canva AI voice generator tools are useful for quick narration, they may sound less natural than human talent.
Types of projects for Canva voice overs
Canva’s recording tools make it easy to add narration quickly while creating visual content. Here’s a quick breakdown of when you might need to use Canva for audio projects.
Tutorials and How-To videos
Knowing how to do a voice over on Canva video projects can help you make tutorials with step-by-step instructions.
Examples include:
- Software walkthroughs
- YouTube tutorials
- Product demos
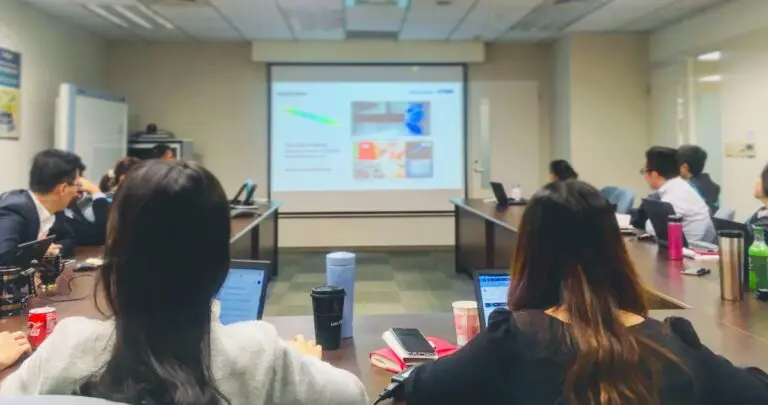
Training and corporate presentations
Many teams need to create slide decks, so knowing how to do a voice over on Canva presentation slides helps turn static slides into narrated training content.
Examples include:
- Employee onboarding
- Internal training modules
- Educational presentations
Social media marketing videos
Marketing teams frequently learn how to add audio in Canva videos when producing short videos for social media.
Examples include:
- Instagram ads
- TikTok videos
- LinkedIn marketing posts
Explainer videos and product walkthroughs
Explainer videos often require narration to guide viewers through a concept, which is why many creators use Canva text-to-speech or Canva recording during production.
Examples include:
- SaaS product explainers
- Startup pitch videos
- Customer onboarding content
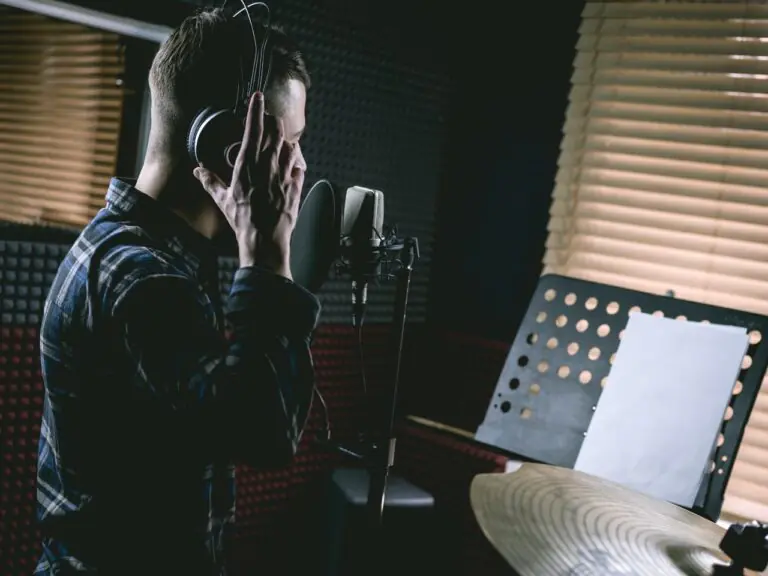
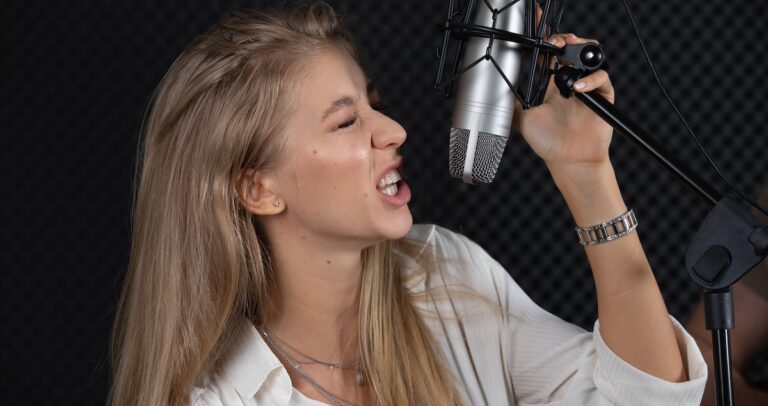
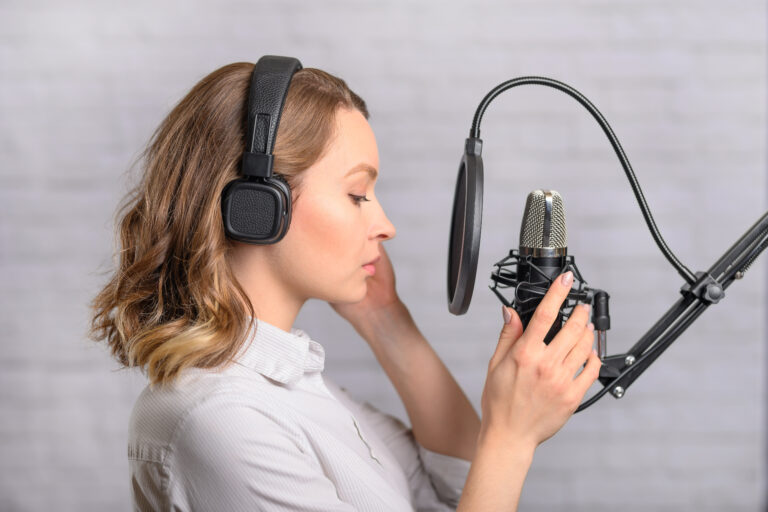
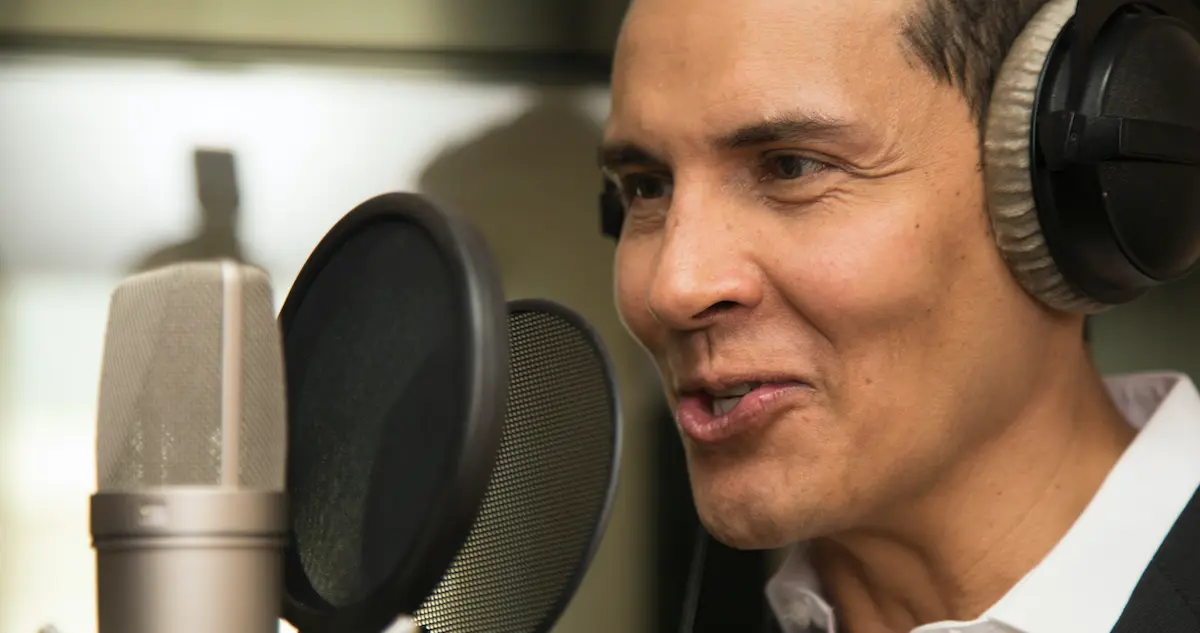
Many teams create the visuals in Canva and then hire professional voice actors through Voice123 to replace temporary narration with a polished voice over.
Final Thoughts
Knowing how to do a voice over on Canva gives creators an easy way to produce narrated videos and presentations and quickly add narration directly inside the editing workflow.
Professional narration delivers the best results for marketing videos and brand storytelling. That’s why many producers use professional talent from Voice123, where experienced voice actors help bring scripts to life.
Hire a professional voice actor today or use Voice123 Enterprise for a complete project management solution.
FAQs
To do a voiceover in Canva, open your video or presentation and use the Record Yourself tool from the Apps panel. Record your narration, and Canva will add the audio to your timeline for editing.
To record yourself talking in Canva, open your project and select Record Yourself. Enable your microphone, start the Canva recording, and the audio will appear in your timeline once you stop.
Yes, you can add audio in Canva by recording with the built-in recorder, uploading an audio file, or using Canva text-to-speech. The audio can then be placed and edited in your video or presentation timeline.
Yes, it supports voice overs for videos and presentations. You can record on Canva directly in the editor or upload narration to add audio to your project.