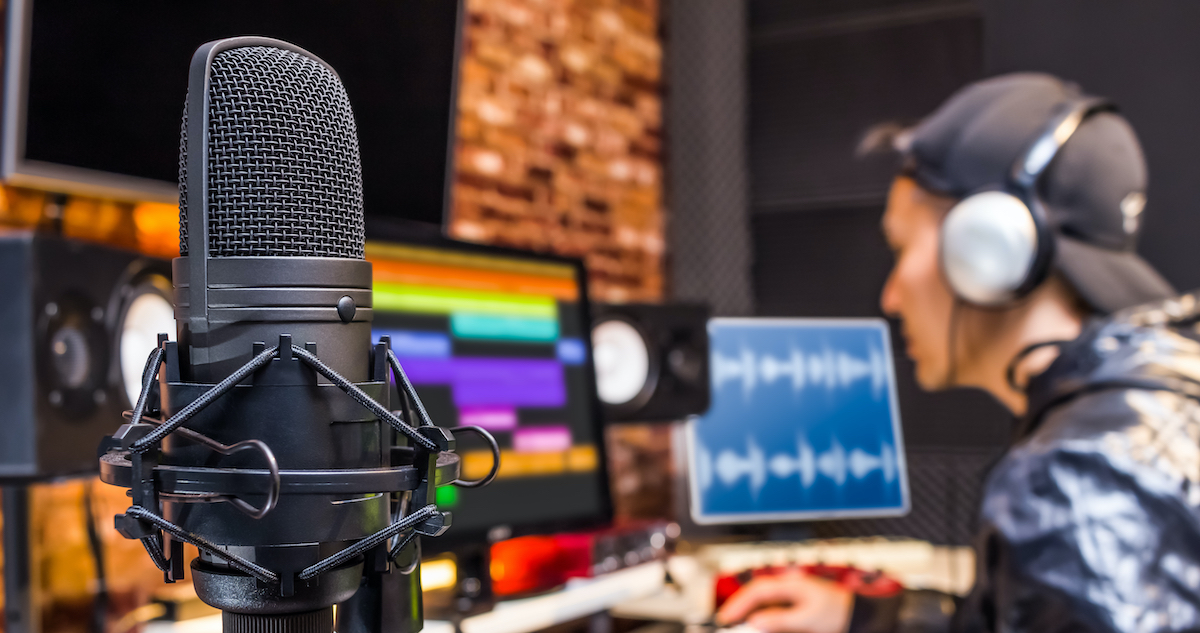
It’s time to turn up (or down) the audio gain and leave your audience with a resounding “Wow, that sounds incredible!” Whether you’re an aspiring podcaster, a music enthusiast, or just trying to create an excellent commercial, by delving into the world of audio gain, you learn how to balance audio levels and achieve professional-grade results.
At Voice123, audio is our core, so with our comprehensive insight, you’ll gain (oops!) everything you need to improve the quality of your recordings. In this post, we’ll discuss what it is, how to use it in voice overs, and how an audio engineer can help your projects. Are you ready to trade in your volume rollercoaster for a smooth audio ride?
What is audio gain?
In a sentence: the amplification or attenuation added to an audio signal to maintain consistent volume levels that improve the recording’s quality. Reducing the audio gain of high-level signals enhances the clarity, intelligibility, and consistency throughout an audio track. This process also removes background noise and minimizes distortions in live concerts, audiobooks, commercial recordings, and more.
For example, multiple microphones capture audio from sources like instruments and vocalists at a live concert. But without proper gain adjustment, the vocalist could sound too quiet while the instruments sound too loud, creating an unbalanced sound mix. By adjusting the gain for each microphone, audio engineers ensure that all sources are heard at appropriate levels, creating a cohesive and enjoyable listening experience. So how do you use audio gain in voice over?
How to use audio gain in voice over
You can use audio gain in voice over by following these 7 steps. First, perform a sound check; second, adjust the gain; third, record a sample; fourth, evaluate the recording; fifth, fine-tune the gain; sixth, apply range compression; and seventh, work with professionals.
Here’s more on each step.
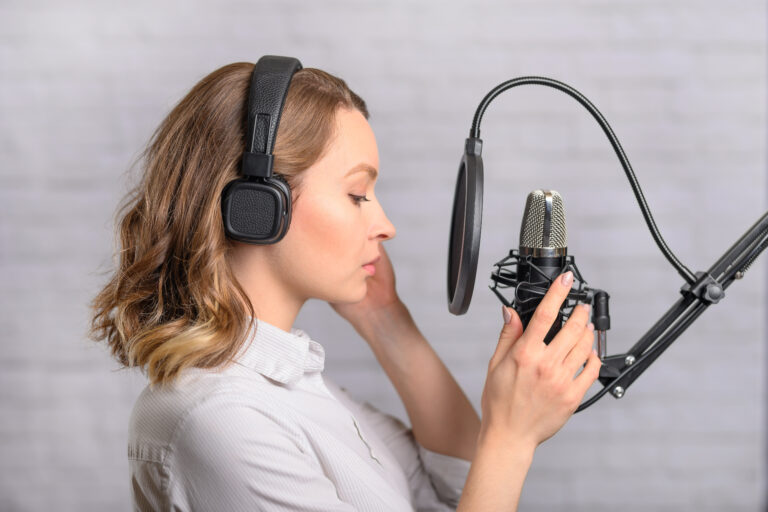
1. Perform a soundcheck
Speak a few test sentences at your usual speaking volume while monitoring input levels displayed on your audio recording software or hardware. If the levels are too low and don’t reach the desired range (-12 to -6 dB), you can adjust the microphone’s input gain or increase the recording volume in your software.
2. Adjust the gain
If your initial soundcheck reveals that the input levels are too low, increase the audio gain on your interface or preamp until you reach the desired range. Avoid excessively high gain settings, which introduce background noise or cause distortion. Try to strike a balance where the audio is clear and robust but without clipping.
3. Record a sample
Record a sample with a few lines from your voice over script that represent the overall tone and delivery. Speak them naturally, ensuring you modulate your voice appropriately. During the recording, maintain a consistent distance from the microphone and be mindful of any sudden changes in volume or projection.
4. Evaluate the recording
Listen to the recorded sample and pay attention to any issues that may arise. Check for background noises such as hums, clicks, or room echoes. Keep an ear out for any distortion or clipping that may occur during the louder parts of a recording. Take note of any sections that require adjustments
5. Fine-tuning audio gain
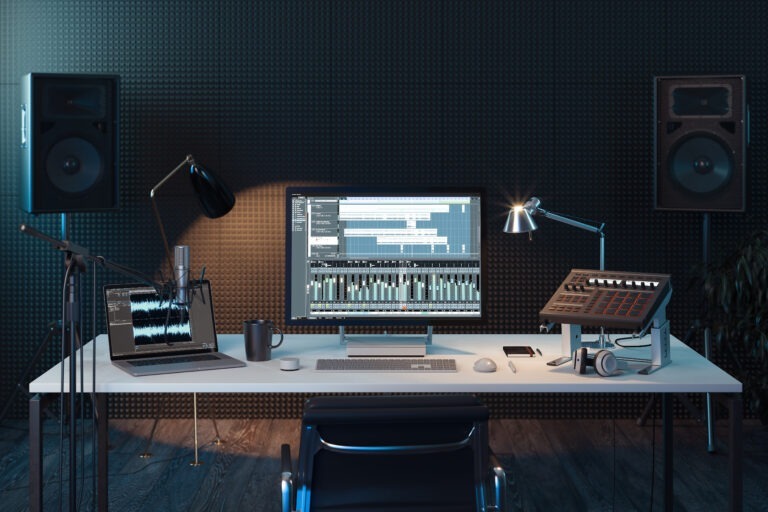
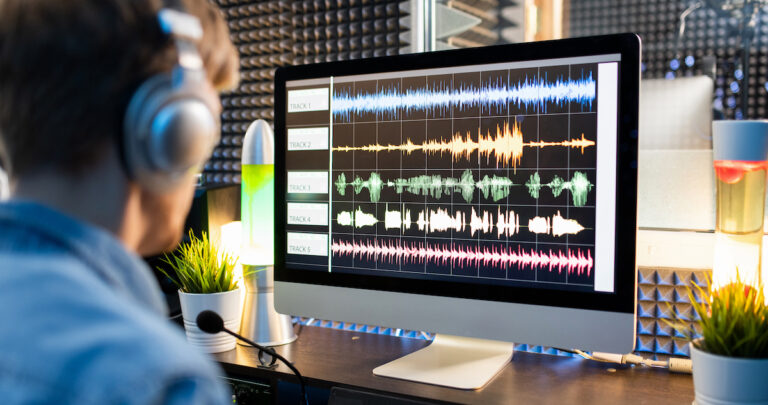
Use audio editing software such as Audacity, Adobe Audition, or GarageBand to make precise gain adjustments during post-production. You can amplify or attenuate specific segments or the entire recording to ensure consistent volume levels. You can apply noise reduction techniques or use equalization further to enhance the clarity and overall quality of the voice over.
6. Apply range compression
Consider using audio compression during post-production to control the dynamic range of the voice-over recording. This helps even out the volume levels, reducing the disparity between louder and softer sections and ensuring a more consistent listening experience.
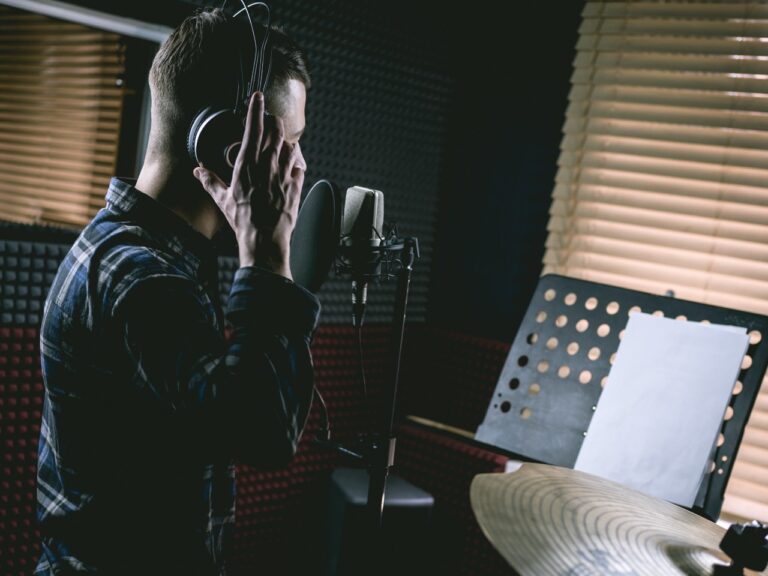
7. Work with professionals
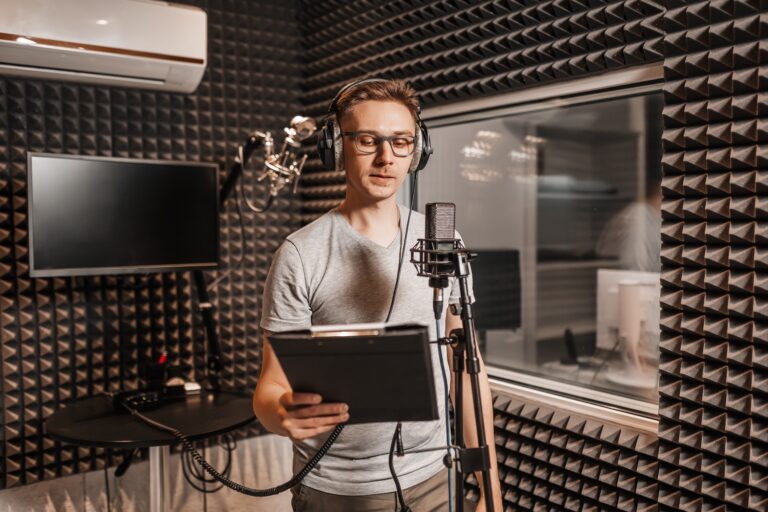
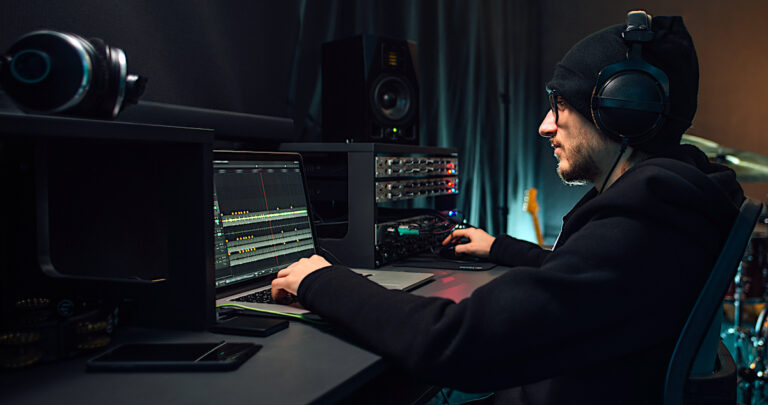
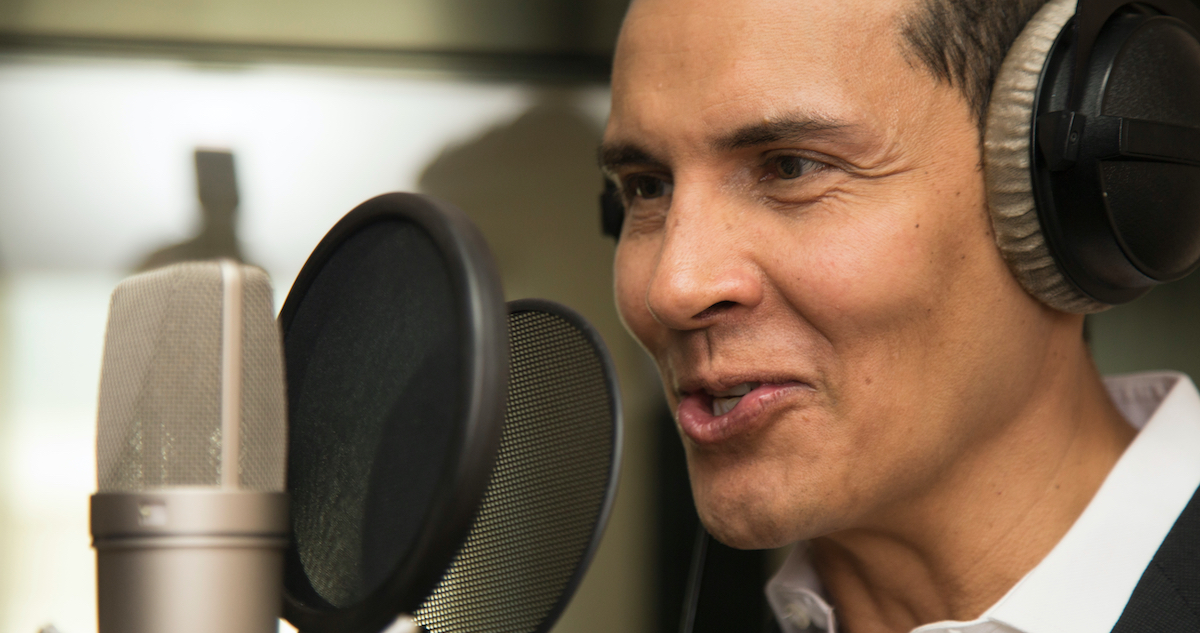
Whether you’re working on a high-stakes project or just something you’re trying out, an audio engineer and voice over professional like those on Voice123 can help you create voice over recordings that include optimal audio gain settings and other techniques specific to your recording setup and requirements.
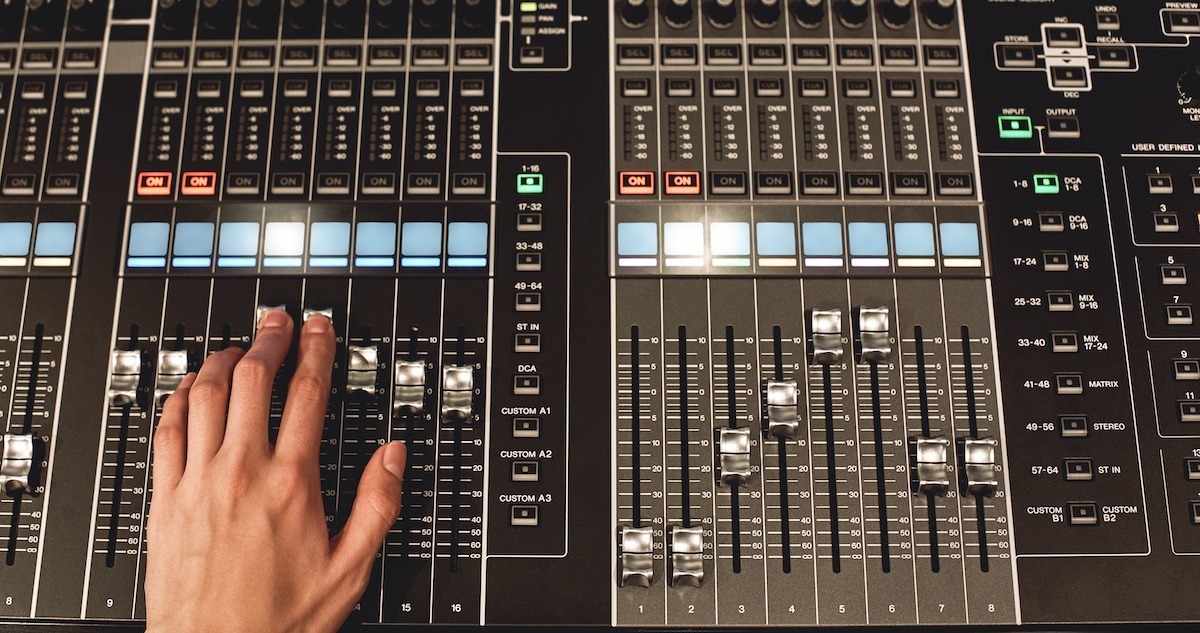
Audio volume vs. audio gain
Audio volume and audio gain are two distinct concepts; audio volume is how loud an audio signal is, while audio gain is how an audio signal is amplified or attenuated. For instance, when adjusting the volume on a television or stereo system, audio volume is how loud or soft the TV sounds to the listener, and the volume is typically changed with a control knob or slider.
Gain, however, describes how an audio signal’s strength is adjusted to make a signal louder or softer without affecting the loudness or softness a listener hears. It’s usually found in equipment like mixers, preamps, or audio interfaces. So, although these concepts are often used interchangeably, understanding the distinction between audio volume and gain helps audio engineers control and manipulate audio levels in various contexts.
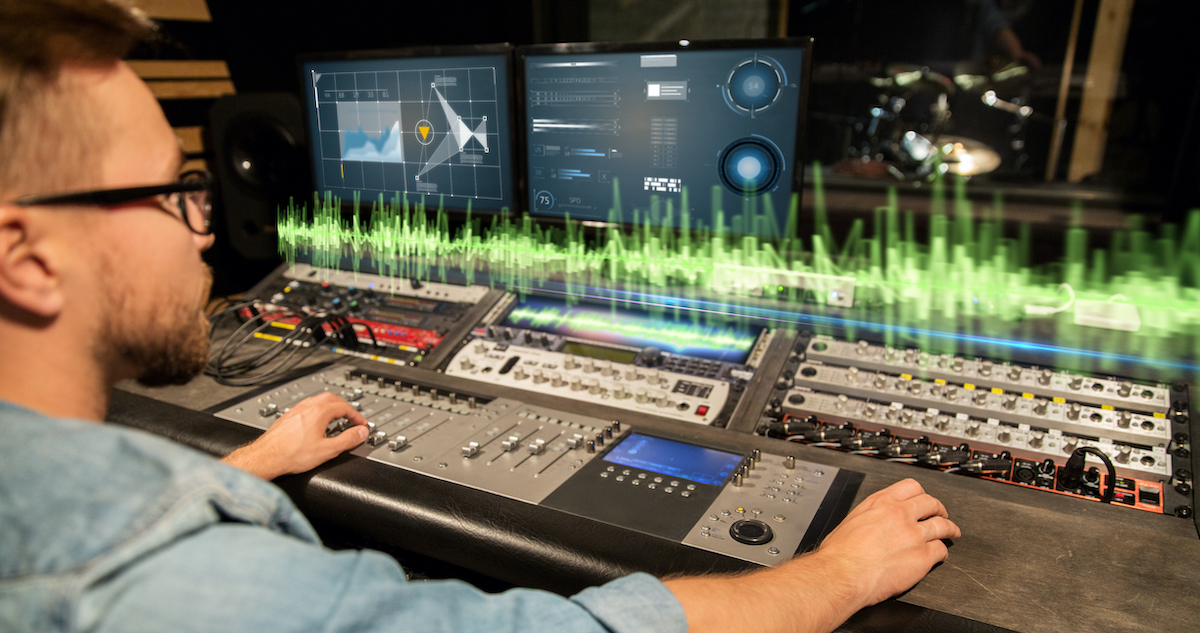
Should you hire an audio engineer?

Ultimately, that will depend on your project type and requirements. Whether it’s a podcast, film production, live event, or music album, skilled audio engineers can capture high-quality audio, maintain consistent volume levels, and address all sound challenges that hinder audio quality. Since audio engineers deeply understand audio gain techniques, they can deliver a polished and engaging final product.
They also resolve technical issues during recording or post-production, from troubleshooting audio equipment to addressing connectivity problems and utilizing advanced tools to eliminate distortion, clicks, or pops. And when you work with the voice over pros from Voice123, you get cosmic-level vocals and audio editing skills to enhance any project.
Final thoughts
And that’s a wrap! With the power of audio gain in your hands, there’s no limit to what you can achieve. So, now that you’ve learned what is audio gain and how to use it best – it’s time to put your knowledge into practice by performing adequate sound checks, adjusting the gain when necessary, recording samples, evaluating recordings, fine-tuning the gain, applying range compression, and working with professionals.
And since the audio world is ever-evolving, be sure to stay updated with the latest trends, techniques, and industry tools. But whether you’re working on film production, organizing a live event, or producing a music album, remember that the Voice123 pros are an invaluable inclusion in any project. From whispers to roars, it’s the audio gain that delivers perfect sound balance!
FAQs
A good audio gain level is within the range of -12 to -6 dB for most audio recordings, allowing for an optimal balance between capturing sufficient signal strength and avoiding distortion or clipping.
Yes, it does because if the gain is set too high, it introduces noise, distortion, or clipping, decreasing sound quality. So, finding the right balance and avoiding excessive gain settings helps maintain optimal audio quality.
It depends on the specific audio source and outcome. Generally, the gain shouldn’t be too high or too low; it should be adjusted to achieve an adequate signal level without introducing noise or distortion.
This is when adjusting the gain on a microphone or audio interface to amplify the input signal from a musical instrument during a recording session. Increasing the gain makes the instrument’s sound more prominent and easier to work with during the mixing and editing stages.