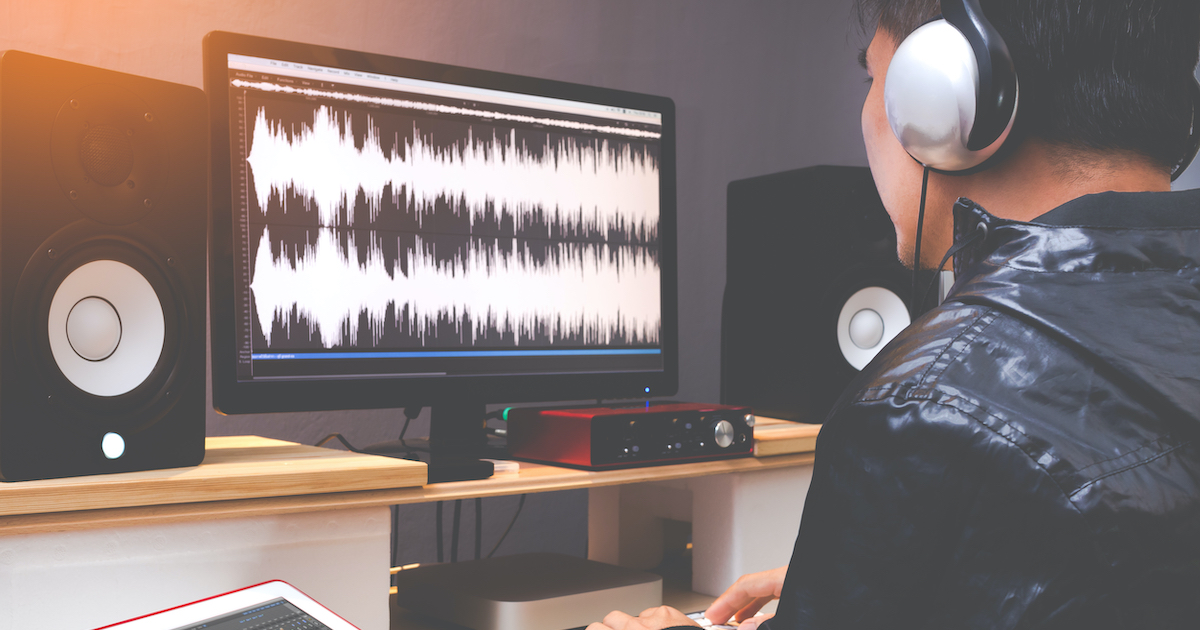
Any voice over recording session is likely to go through several stages. Actually, a high-quality voice over recording needs to undergo a lot of refinement to sound great. While some actors don’t bother putting much effort into editing voice overs, true professionals do. Nevertheless, if you need to shorten or fine-tune, here’s how to best edit a voice actor’s voice over.
Fixing it in the mix

Most experienced sound engineers will tell you in no uncertain terms: get it done and get it done right.
Don’t try fix it in the mix.
Editing voice overs should be done by the actors. You have every right to expect that as a client who hired the voice actor to record the voice over for you.
Still — life happens; sometimes, you’re just too pressed for time and you need to take matters into your own hands, or you prefer doing the work yourself.
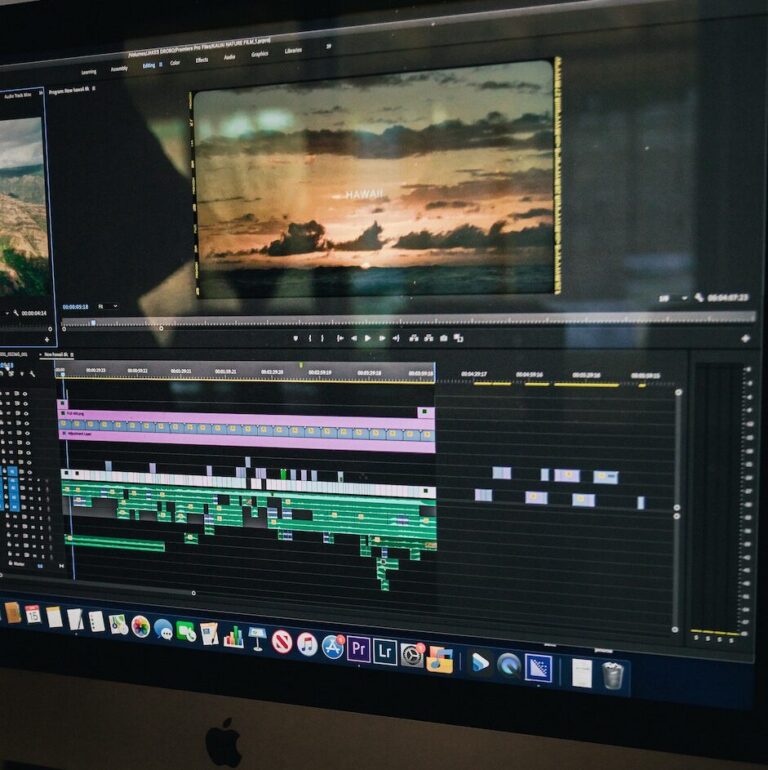
That said, we’re presuming — if you’re prepared to undertake the process yourself — you at least have some experience with editing software and can find your way around a DAW. If not, rather outsource your editing. It’s better to deliver late than deliver a disaster on time.
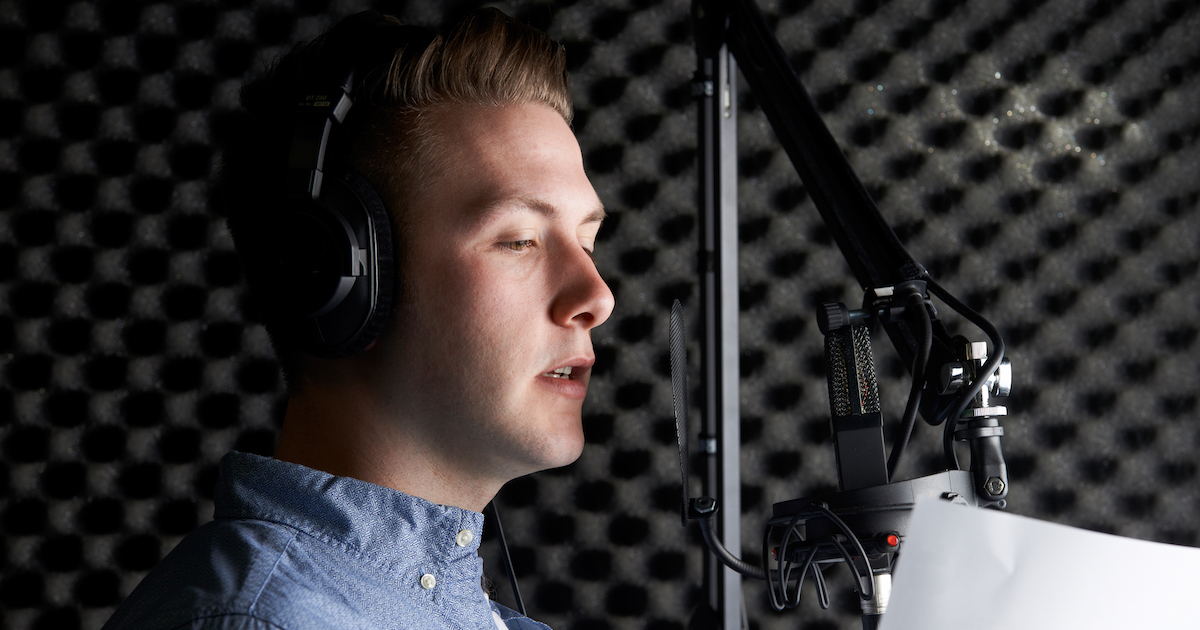
Breaths
The first issue you may find yourself having to deal with when editing voice overs is breaths. Especially in the US, producer/directors are obsessed with removing every breath in a voice over recording. It’s become standard practice over time in the commercial world because time is money: if you remove all the breaths, you can fit in more words.
Removing a breath seems simple enough: you can see the waveform of the breath on your screen, so you simply select and delete it, right?
Wrong. You don’t.
Zoom in carefully. Find the very start of the waveform and listen until you hear the initial formant of the vowel or consonant of the word that follows before you cut. Why? Because if you remove that initial formant, the word will sound unnatural. It’s also a good idea to replace the space you’ve removed with room ambience so you don’t interrupt the rhythm of speech or make the cut audible.
There is as much art involved here as science. Remember your customers breathe, so they expect other people to breathe. If they listen to 30 seconds of audio and the voice actor never takes a breath, they’re going to start wondering why s/he doesn’t. This will distract them from fully absorbing your message, which is defeating the object.
It’s often a good idea to allow some breaths to remain and only remove ones that sound irritating when you edit a voice actor’s voice over. Once you’re done, listen back to the whole recording to ensure it sounds as natural as possible. If it sounds jarring and text-to-speech, you’re in trouble!
Equalization

If the voice over sounds dull, adding a tad of high frequency EQ will improve articulation. Beware of introducing or increasing sibilance, though.
If the voice over sounds a bit boomy, reduce the low frequency EQ. You’ll find the offending frequencies at around 80 to 250 Hz. Most DAW’s include plugins with useful presets that may only need minimal fine-tuning.
Less is alway more with EQ, so be very gentle. The goal your working towards is a voice over that sounds warm, engaging, articulate, and nice to listen to.
Fades and crossfades
A sudden drop to dead silence between words is a dead give-away that you don’t know how to best edit a voice actor’s voice over! As we mentioned above, rather add some room ambience to mask the fact that you’ve edited something out. Transitions must be as smooth and inaudible as possible.
Most professional DAWs introduce fades and crossfades of their own to reduce the impact of the editing process, but this sometimes needs tweaking. Trust your ears; if it doesn’t sound right to you, it won’t sound right to others.
Removing plosives and harsh esses
Plosives are voiceless t, k, and p and voiced d, g, and b. Esses refer to the sound of the letter ‘s’.
While pop filters should take care of these difficult consonants, not every voice actor is caring enough to avoid them. The best way to deal with plosives is by fading the loudest and most disturbing part of the sound. Consider the waveform cautiously. Removing or reducing that initial burst is tricky; you have to keep the fade very short. For esses, you can simply reduce the volume level where the waveform is at its highest. Again, most DAWs have de-esser plugins that can be very effective. They’ll all need tweaking, though. At worst, a de-esser can make it sound as if your voice actor has no front teeth. Beware!
Packaging your voice over
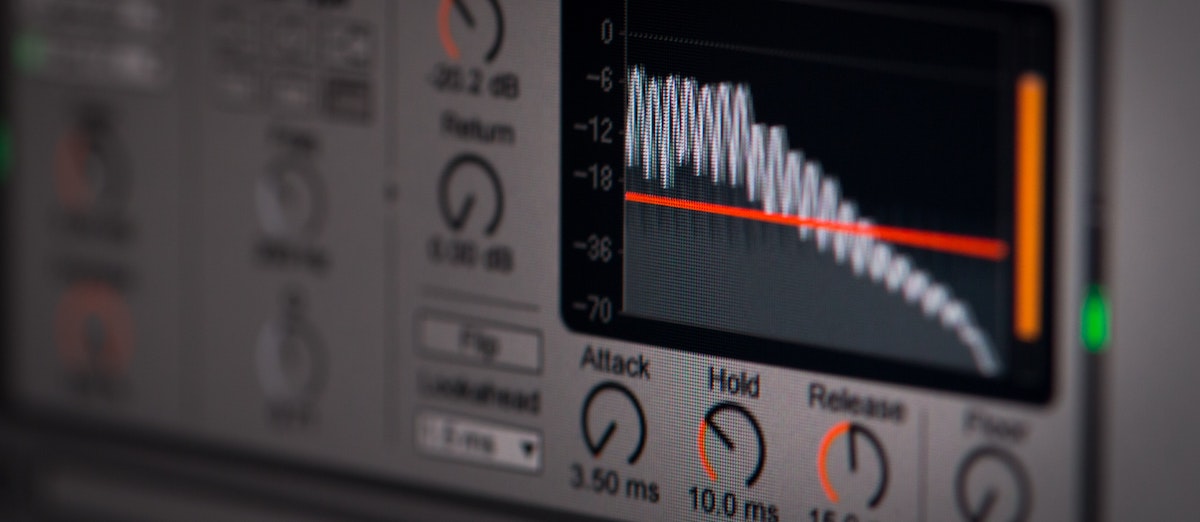
If you have been working with an absolutely raw recording, apart from addressing the issues mentioned above, you’ve also removed mic bumps, coughs, mistakes, dead air, air exhalation, etc. Your recording should be just about done. To even things out, it’s time to add compression. We discuss it here.
Compression adds a measure of finesse by evening out the overall vocal volume and, in many instances, adding a bit of clout. After all, you want your voice over project to sound loud and articulate so you can get your message across in no uncertain terms!