Voice over equipment for a home studio setup
Curious about proper home studio set ups for recording voice overs? Get ready to learn about the voice over equipment you need for your home recording studio.
Voice over equipment paves the way for professional recordings and a successful career in voice acting. From top-tier microphones to pop filters and DIY studios, our guide has tips to help you build a voice over home studio kit that captures crystal-clear audio in every performance.
Voice over equipment for a home studio set up
- Computers
- Microphones
- Microphone Accessories
- Audio Interface
- DAWs
- Headphones
Voice over computers
While you don’t need flashy models, your computer’s processor must handle audio recording software without lags, noise, or system crashes. A quiet fan, ample storage space, and an operating system that supports diverse microphones, interfaces, and editing software is crucial.
Here are some voice recording equipment suggestions:
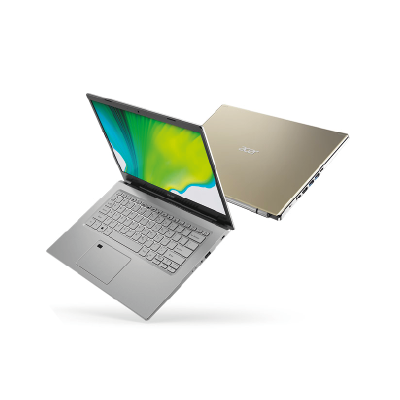
Acer Aspire 5
This non-Mac alternative is budget-friendly, with enough RAM and SSD (solid state drive) for storage and faster recordings. The Acer TrueHarmony technology enhances recording and editing options. It’s available at Acer and Amazon.
Voice over equipment microphones
Voice over mics minimizes background noise and distortions, creating professional-grade sound in videos, podcasts, and other digital content. Large-diaphragm condenser mics are sensitive and pick up fine details and vocal depth. Generally, XLR mics over USB mics are preferred for sound quality. Here are a few industry-used microphones.
Voice recording equipment recommended by pros:
- Sennheiser MKH 416 – Short Shotgun Microphone – available at Amazon.com, B&H photo and video, and Sweetwater.com.
- TLM102 is available at Sweetwater.com, B&H photo and video, and Amazon.com.
- Neumann U87 – available at Amazon.com, B&H photo and video, and Sweetwater.com.
Budget voice recording equipment:
- Rode NT1A – available at B&H photo and video, Sweetwater.com, and Amazon.com.
- Shure SM7B (this is a dynamic mic) – available at Amazon.com, B&H photo and video, and Sweetwater.com.
- Blue Yeti Pro (USB XLR hybrid) is available at Amazon.com, B&H Photo and Video, and Bluemic.com.
Microphone accessories for a voice over home studio kit
- A pop filter blocks out plosives – air pockets from consonant pronunciations (p-, b-, t-, k-, d-, g- sounds).
- A microphone shock mount reduces vibrations picked up from things that cause the mic or boom arm to shake.
- Microphone stands vary depending on whether they’re standing tripods or desk arms.
- An XLR cable determines how much interference is carried into the recording from the mic.
Voice recording equipment audio interfaces
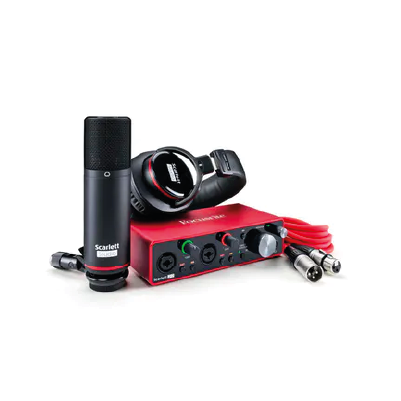
An audio interface receives the sound waves picked up by the mic, converting the analog signal to digital. The Focusrite Scarlett Solo is a budget-friendly voice acting equipment option similar to the 2i2 and 4i4 models. For more info check out SweetWater’s audio interface buying guide.
DAW (Digital Audio Workstation) for a voice over home studio kit
Digital audio workstation helps remove background noise and distracting breaths, apply compression, and do preliminary editing before submitting a recording. Here are 3 industry-used DAWs.
- Adobe Audition improves workflows for multi-track editing and exporting small sound files.
- Audacity has a user-friendly interface that helps you edit audio easily.
- Avid Pro Tools offers free trials, and the entire package is available with subscriptions.
Voice over equipment headphones
Headphones are a must-have for your voice over home studio kit so you can hear every detail of your voice over. Opt for closed-back headphones because they don’t leak sound and are comfortable for long working hours. Here are some options.
- Sennheiser HD280 Pro closed-back headphones are affordable by industry standards. They’re available on Amazon and the official site.
- Audio Technica ATH-M30x is a lower-end option for studio monitors. It’s available at Amazon, Sweetwater.com, and B&H photo and video.
- Sony MDR-7506 is a closed-back option based on Sony’s reputation. Get them at Sweetwater.com, B&H photo and video, and Amazon.
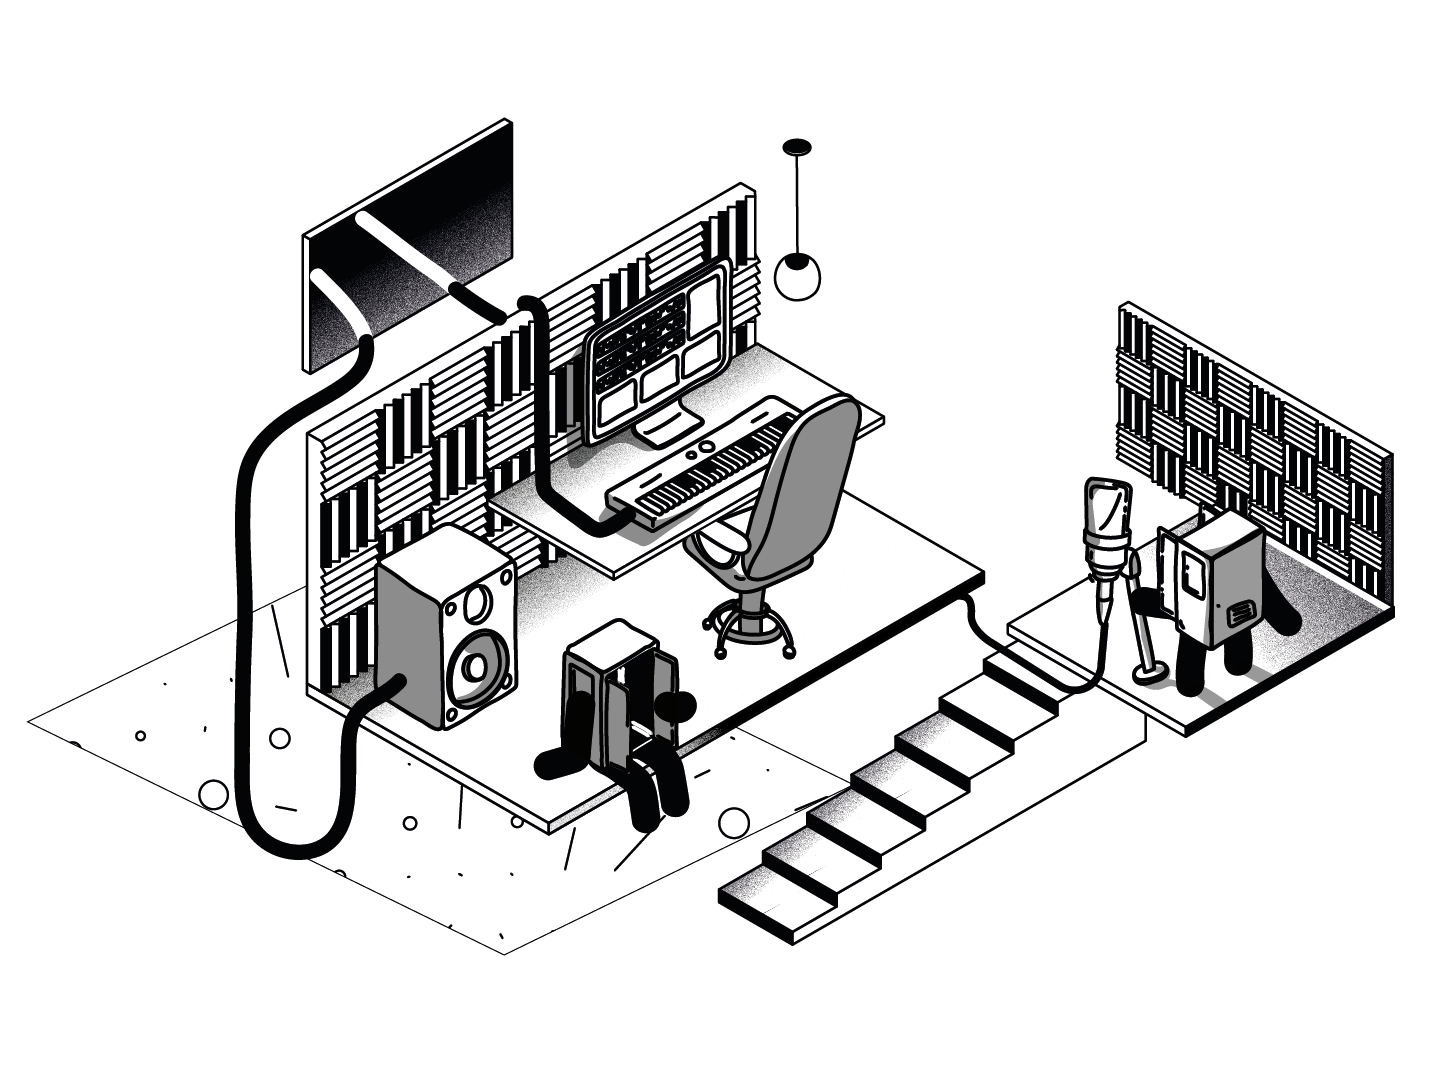
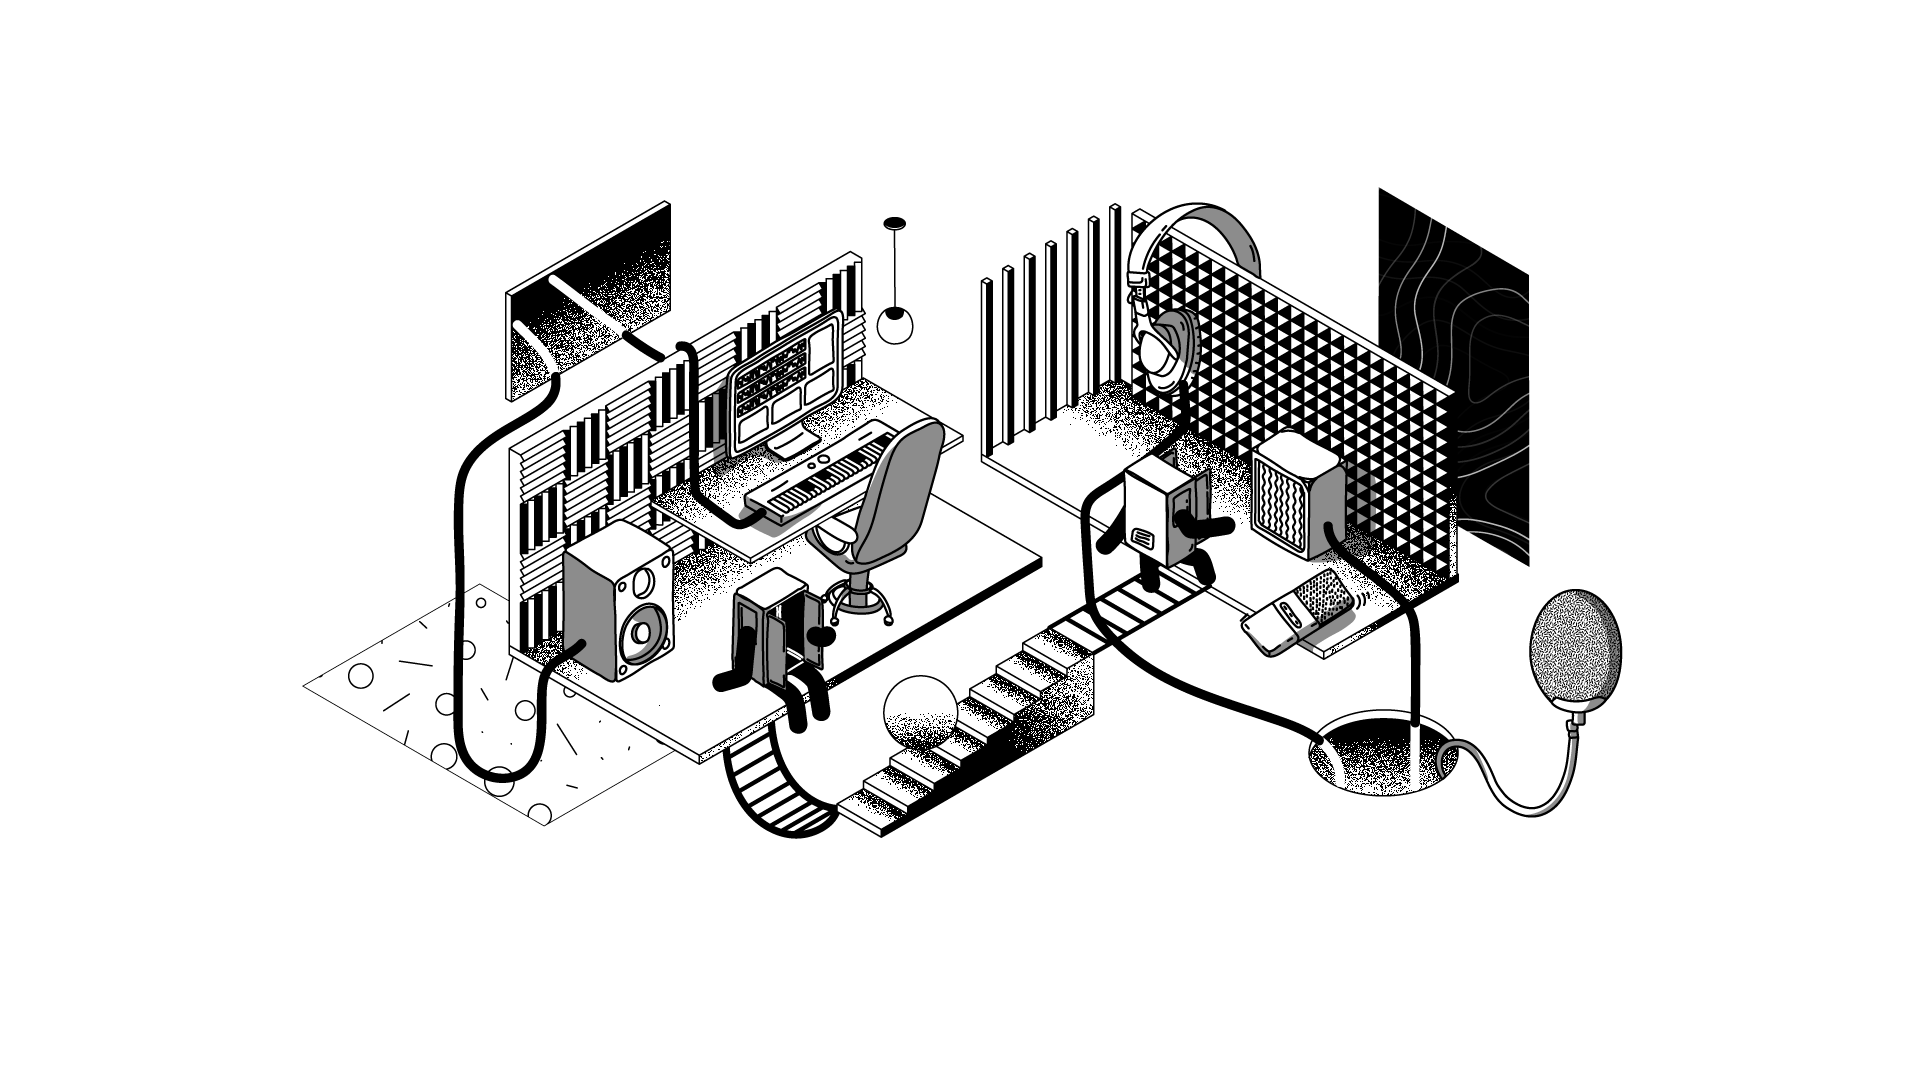
How to get started on your voice over home studio kit
To get started on your voice over home studio kit, choose a quiet space; you can even work in a closet studio or DIY booth with soundproofed or foam-padded walls. Get a high-quality microphone, headphones, and audio interface. Round it off with reliable recording software.
Choose voice over equipment bundles
Voice over equipment bundles are affordable packaged recording items. But voice over equipment isn’t one-size-fits-all. So, choose the tools that give you the best performance output. Here are some voice over equipment bundles to get you started.
- Beginner Bundle: Blue Microphones Baby Bottle SL and SSL2+ Recording Package
- PreSonus USB 96 USB Audio Interface & Audio-Technica AT2020 Recording Bundle
- Advanced Bundle: Shure SM7B and Apollo Solo Heritage USB-C Vocal Recording Bundle
- AKG C414 XLII and Apollo Twin X QUAD Heritage Edition Vocal Recording Bundle
Get valuable audio post-production tips in this article on How to make your voice sound better.
Choose a good space for your home recording studio
Ideally, you want a quiet room with minimal external noises and interruptions. The room should be acoustically treated, or you can record while surrounded by thick coats, blankets, carpets, or clothes to absorb stray sounds. Proper ventilation and temperature control maintain a conducive working environment during long recording sessions.
Cover reflective surfaces
Use soft materials like blankets, carpets, or acoustic foam to cover hard surfaces like desks, which reflect sound waves and cause echoes. Want to compare the differences? Try recording in an open space and then in your closet between hanging jackets – you’ll notice a massive quality contrast.
Isolate your microphone with a shield
Using a mic shield minimizes echo and background noise. Once you have a shield, position the microphone inside its cocoon so it’s centered for optimal sound isolation. You can also place acoustic panels around the recording area to absorb sound.
Conclusion
Reliable voice over equipment is the foundation of a successful voice over career. With a bit of time and research, you can put together a reliable voice over home studio kit. Not sure where to go next? Check out our ultimate voice over resource page for tips to kickstart your voice over business.
FAQ's
You’ll need a high-quality microphone to capture your voice, a pop filter to minimize plosive sounds, an audio interface to convert your microphone’s analog signal to a digital format, professional studio headphones to edit your recordings, and a quiet, acoustically treated recording space.
Although it depends on your specific needs and budget, some of the best recording equipment includes a condenser microphone like the Blue Yeti and an audio interface like the Focusrite Scarlett can enhance the sound quality in your voice over projects.
To do voice overs at home, start with a quiet, acoustically treated space to minimize background noise and echo. Invest in quality voice over equipment with reliable audio recording and editing software, and practice your voice skills to improve your technique and delivery.
You will need an external microphone, a computer or digital audio recorder, and recording software to record your voice. You will also need a quiet, echo-free environment to create high-quality voice over recordings.
Share this post!
A blog owner yourself? Relevant links to quality sites will help your performance on search engines. If your readers will benefit from the services or information on The Booth's Voice over Guide, please consider linking to this post or the guide itself.